
Best 10x10 trade show booth layouts compared 2026
Compare 10x10 trade show booth layouts. Open backwall wins for flexible conversations; see layout trade-offs, artwork checks, and quote preparation.
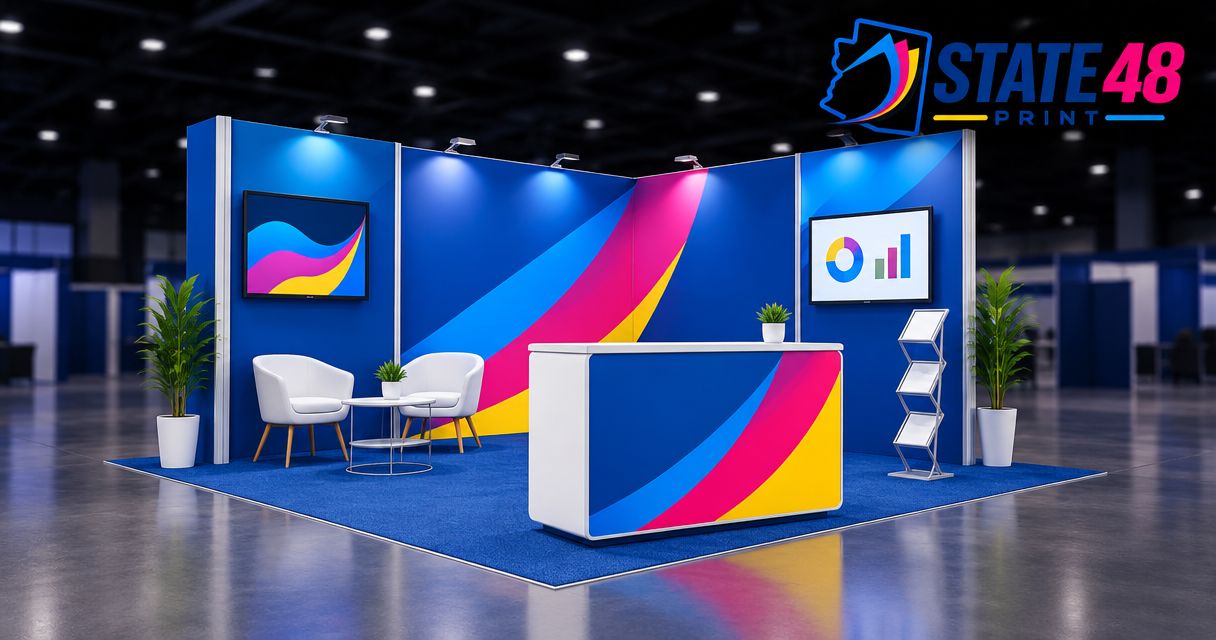
Best overall: an open-backwall layout. Best for live demonstrations: a side-demo layout. Best for seated buyer conversations: a rear-meeting layout. This guide compares 10x10 trade show booth layouts by visitor access, display space, staff movement, and the job your booth needs to do.
TL;DR
- Open-backwall 10x10 trade show booth layouts are the default for flexible visitor conversations.
- Side-demo layouts give product demonstrations a defined location without putting a table across the entrance.
- Rear-meeting layouts prioritize seated discussions but leave less room for browsing.
- State 48 Print provides trade show displays and practical print guidance for business buyers.
Why this matters
A 10-foot by 10-foot booth gives you 100 square feet, not unlimited room for every sales activity. Furniture, display supports, stored materials, staff, and visitors all share that footprint. The best layout protects the activity that matters most.
For your 2026 event plan, start with the conversation you want. A product demonstration needs a different arrangement from a sample display or a scheduled buyer meeting. Adding furniture before choosing that purpose creates competing demands on the same space.
State 48 Print is a woman-owned, Arizona-based commercial printing company serving businesses nationwide. Its printing services include trade show displays, with production capabilities in Arizona and Oregon supported by an experienced network of specialized industry partners.
State 48 Print suits businesses buying trade show displays with personal service and practical print guidance. Choose your layout first so the display request supports a clear purpose.
What makes the best 10x10 trade show booth layouts
Use these criteria to evaluate your 2026 booth plan before choosing furniture or printed graphics:
- Visitor access: Keep the intended entrance visible and free of unnecessary obstacles.
- Message visibility: Put your main message where furniture and staff will not routinely cover it.
- Activity fit: Give demonstrations, conversations, meetings, or browsing a defined place.
- Staff movement: Leave room to work without repeatedly crossing the visitor's path.
- Storage discipline: Assign a location for cases, literature, personal items, and replenishment materials.
- Event compliance: Check the exhibitor manual before committing to display heights, placement, utilities, or hanging elements.
No arrangement wins every criterion. A table that supports a meeting also occupies standing space. A counter that organizes handouts can become a barrier. Make those trade-offs deliberate.
Layouts at a glance
For 2026 planning, this ranking prioritizes a clear booth purpose over how much equipment fits inside the outline. Each layout below owns a different use case.
| Rank and layout | Best for | Standout feature | Key limitation |
|---|---|---|---|
| 1. Open backwall | Flexible visitor conversations | Open entrance with the main graphic behind staff | Limited separation between activities |
| 2. Side demo | Live product demonstrations | Demonstration surface along one side | Viewers can obstruct the entrance |
| 3. Rear meeting | Seated buyer discussions | Conversation area toward the back | Furniture reduces browsing space |
| 4. Perimeter gallery | Comparing physical samples | Samples arranged around the edges | Browsing competes with graphic space |
| 5. Front counter | Quick literature handoffs | A clear visitor-facing transaction point | Counter separates visitors from the interior |
The table compares arrangements, not complete display packages. Exact hardware, dimensions, and placement still need to match your event rules and selected display components.
1. Open backwall: best for flexible visitor conversations
An open-backwall layout places the primary display at the rear and keeps most of the entrance unobstructed. Put supporting materials to the side rather than stretching a table across the front. Staff can greet visitors without requiring them to step around furniture first.
This is the strongest default when your booth must handle introductions and short conversations without a fixed demonstration or meeting station. Keep the central area available rather than treating it as spare storage.
!Compact trade show booth with a rear display, side pedestal, and open central floor area
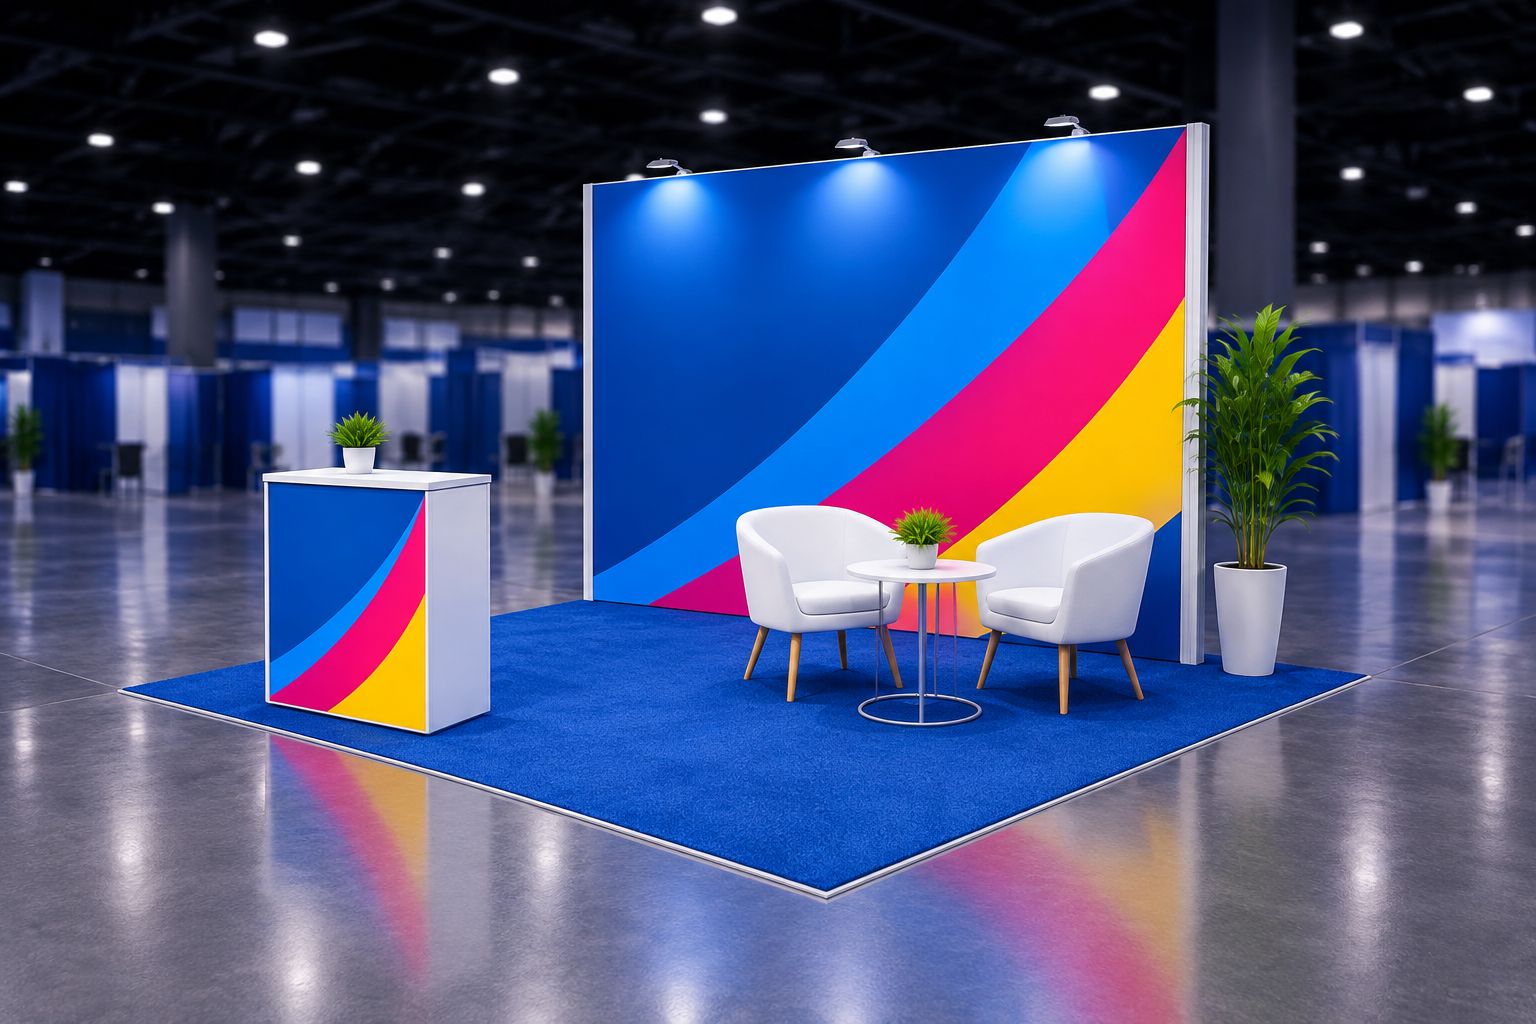
An open entrance gives conversations space without placing a table between staff and visitors.
Open-backwall pros:
- Preserves a direct approach from the aisle.
- Lets staff adjust where conversations happen.
- Gives the rear graphic a clear role as the main message surface.
Open-backwall cons:
- Does not separate demonstrations from general conversations.
- Requires a deliberate storage location to keep the floor clear.
Best for: Businesses whose main objective is starting conversations with unfamiliar visitors.
Verdict: Buy into this layout as your default unless a specific activity requires dedicated furniture.
2. Side demo: best for live product demonstrations
A side-demo layout places the demonstration surface along a side boundary, with the main message behind or beside the activity. Position the demonstrator so visitors can see the product without needing to stand outside your allotted footprint.
The demonstration becomes the booth's organizing feature. Plan the viewing position, staff position, and replenishment area together. Otherwise, a workable demonstration surface can still leave the audience blocking the entrance.
Side-demo pros:
- Gives hands-on activity a defined location.
- Keeps the whole entrance from becoming a continuous table edge.
- Connects the printed explanation to the product being demonstrated.
Side-demo cons:
- A gathered audience competes with access to the booth.
- Equipment, cables, or supplies add placement requirements.
Best for: Exhibitors whose product makes more sense when visitors see it working.
Before approving the arrangement, rehearse the demonstration with the actual equipment. Check where the presenter stands, where visitors look, and how supplies are reached without interrupting the explanation.
Verdict: Buy into this layout when the demonstration is your main reason to exhibit; skip it for literature-only outreach.
3. Rear meeting: best for seated buyer discussions
A rear-meeting layout puts a compact conversation area toward the back of the booth. The front remains the greeting zone, while the seating signals that a longer discussion has a place.
Choose this arrangement when scheduled or detailed buyer conversations matter more than open browsing. It is not a private meeting room. Neighboring exhibits, aisle activity, and your own greeting conversations remain part of the environment.
Rear-meeting pros:
- Gives seated discussions a defined destination.
- Separates the initial greeting from the main conversation.
- Provides a surface for reviewing physical materials.
Rear-meeting cons:
- Chairs and a table consume space even when nobody is meeting.
- Seated occupants can obstruct lower portions of the rear graphic.
Best for: Businesses expecting detailed discussions with identified buyers rather than a continuous demonstration audience.
Check the footprint with chairs pulled out, not tucked beneath the table. Include the space someone needs to approach, sit, and leave. A furniture outline alone does not show whether the arrangement works in use.
Verdict: Buy into this layout for meeting-led exhibiting; skip it when browsing is the primary objective.
4. Perimeter gallery: best for comparing physical samples
A perimeter-gallery layout places samples or product examples around the booth's usable edges. Visitors browse the sequence while the center remains available for questions and comparisons.
Organize the display around a buying decision, not your entire catalog. Group samples by the differences customers need to evaluate. A smaller, understandable selection gives each displayed item a clearer purpose than an assortment with no explanation.
Perimeter-gallery pros:
- Gives visitors a physical way to compare options.
- Keeps browsing surfaces around the edges rather than across the entrance.
- Supports short labels beside relevant samples.
Perimeter-gallery cons:
- Samples and shelving compete with printed message space.
- Browsing visitors can restrict access to adjacent samples.
Best for: Businesses selling products whose material, finish, or construction benefits from direct inspection.
Plan replenishment and handling before printing labels. Decide which items visitors can pick up and where those items return. Keep essential explanations visible when a sample is being handled rather than resting in its display position.
Verdict: Buy into this layout when physical comparison drives the conversation; skip it when samples add no useful evidence.
5. Front counter: best for quick literature handoffs
A front-counter layout places a visitor-facing surface near the entrance. Staff use it to organize handouts, answer brief questions, or direct visitors to the next action.
This arrangement works when the interaction is intentionally short. It becomes a poor fit when you also expect visitors to enter, browse, and stay. Preserve an opening rather than assuming every encounter should happen across a counter.
Front-counter pros:
- Creates an obvious place to ask a question.
- Keeps frequently used literature within reach.
- Gives staff a defined working surface.
Front-counter cons:
- Creates a physical boundary between staff and visitors.
- Can hide lower graphics and restrict entry.
Best for: Exhibitors focused on brief information exchanges rather than extended engagement inside the booth.
Keep the surface focused on the immediate handoff. Boxes, drinks, personal belongings, and surplus literature compete with the materials visitors actually need. Plan storage separately instead of allowing the counter to become a catch-all.
Verdict: Buy into this layout for quick exchanges; skip it when your goal requires visitors to come inside.
How the layouts are ranked
These 2026 recommendations use the same criteria: access, message visibility, activity fit, staff movement, storage, and event compliance. The open-backwall layout ranks first because it makes the fewest commitments to a specialized activity.
The remaining layouts are purpose-specific choices, not progressively worse booths. A side-demo arrangement is the better decision when demonstration is essential. A rear-meeting arrangement is the better decision when seated discussion takes priority. Match the layout to the work, not the ranking number.
Turn the layout into a workable booth plan
Use this sequence before ordering display components:
- Confirm rules: Read the event's exhibitor manual and identify the requirements that affect your booth.
- Choose purpose: Select the primary visitor activity and the layout that supports it.
- Map furniture: Include display supports, furniture in use, staff positions, and storage.
- Prepare artwork: Obtain the selected display's specifications before setting up production files.
- Request quote: Submit the plan, display requirements, quantity, and event deadline together.
!Booth planning sequence from confirming event rules to requesting a quote
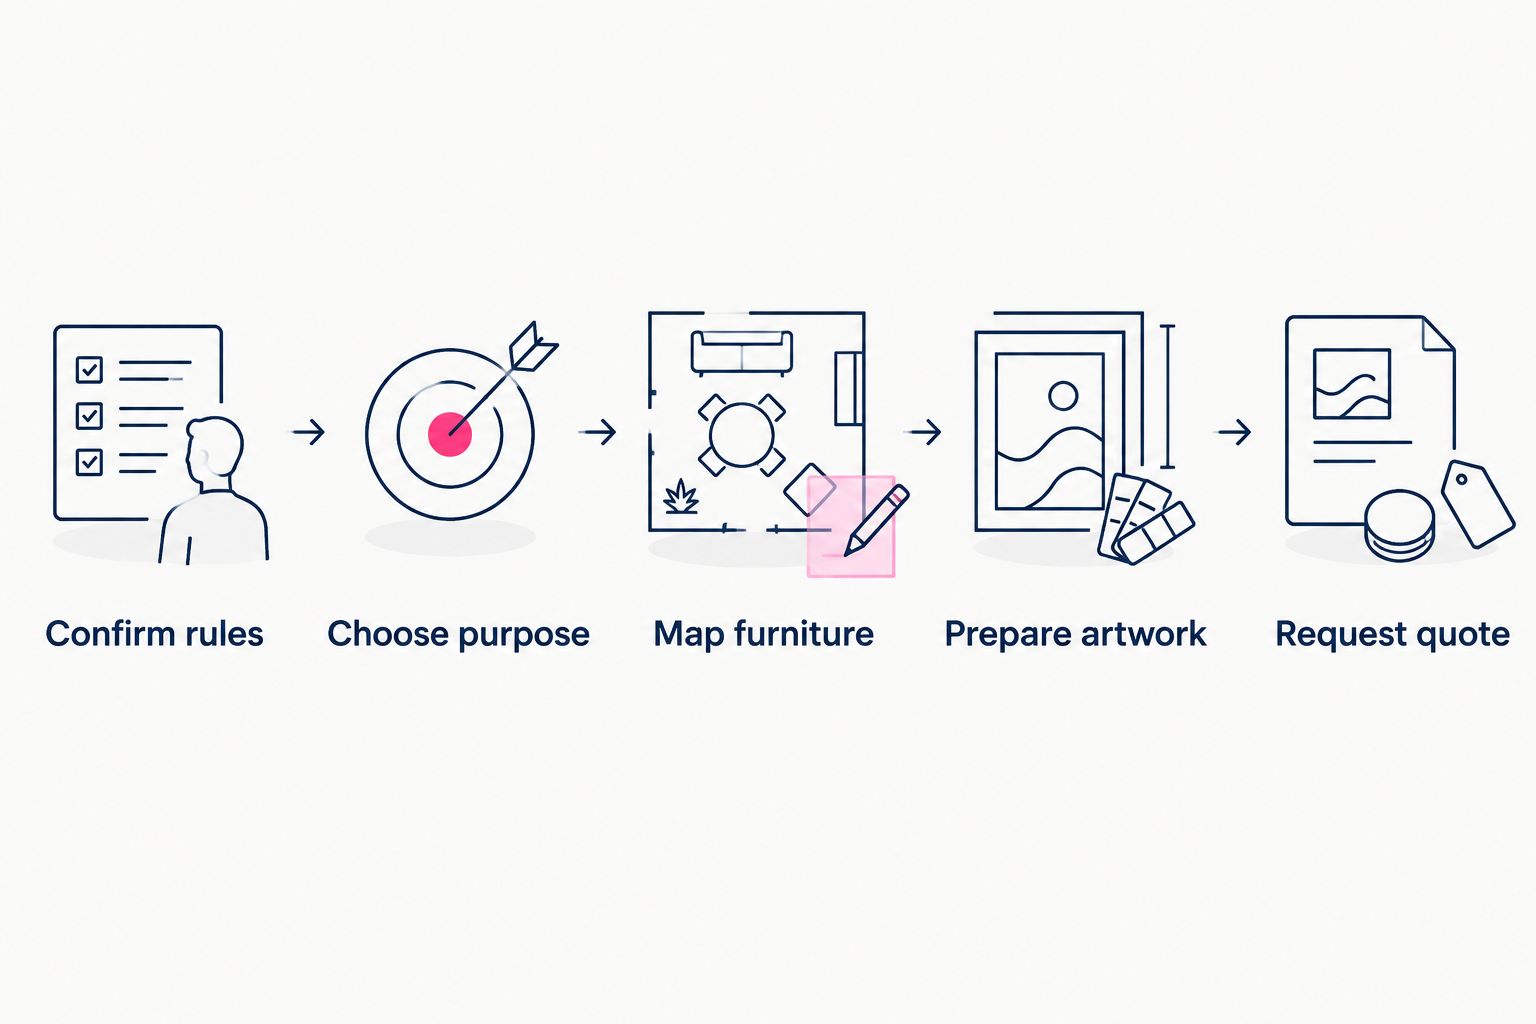
Choose the activity and map the footprint before preparing production artwork.
A 10-foot boundary measures 120 inches, but that does not make 120 inches the correct width for a printed panel. The selected display system determines its artwork dimensions, visible area, seams, and other production requirements.
Test the floor plan with your actual furniture dimensions. Mark the footprint, place the furniture, and walk through the visitor interaction. Check the arrangement with people present rather than judging an empty outline.
Prepare artwork and a useful quote request
For a 2026 show, separate the event date from the date you need materials in hand. Include any organizer receiving instructions and explain whether your request covers new displays, replacement graphics, or related printed materials.
Send State 48 Print the booth footprint, chosen layout, intended display types, quantities, artwork status, and required delivery details. Include the exhibitor manual where relevant. A clear request gives the quoting conversation a defined scope instead of leaving the display configuration unstated.
For artwork, keep the main message distinct from supporting information. Review what furniture, people, or samples will cover. Obtain the correct templates and confirm file requirements before treating a design as production-ready.
Request a project quote with the booth purpose and deadline attached. Ask which display specifications need confirmation before final artwork is prepared.
Rush printing available on select products. Contact us to confirm turnaround times based on your project specifications.
Which layout should you choose?
Choose an open-backwall layout when you need a dependable starting point for visitor conversations. Move to a side demo, rear meeting, perimeter gallery, or front counter only when that arrangement directly supports your primary activity.
Do not combine every layout into the same footprint. If the plan requires demonstrations, seating, sample browsing, and literature distribution, decide what takes priority and remove the elements that interfere with it.
FAQ
What's the best 10x10 trade show booth layout?
An open-backwall layout is the best default for flexible visitor conversations. A side-demo, rear-meeting, perimeter-gallery, or front-counter layout is a better choice when its specific activity takes priority.
Should I put a table across the front of my booth?
Put a table across the front only when a counter-based interaction is intentional. If you want visitors to enter and browse, preserve a clear opening rather than making the table a continuous barrier.
How much space does a 10x10 booth provide?
A 10-foot by 10-foot booth provides 100 square feet. Display supports, furniture, storage, staff, and visitors all need to fit within the usable footprint and applicable event rules.
Is a side-demo layout better than an open-backwall layout?
A side-demo layout is better when live demonstration is your primary activity. An open-backwall layout is better when you need flexible space for greetings and conversations without a fixed demonstration station.
Can I fit a meeting area into a 10x10 booth?
A rear-meeting arrangement gives a meeting area a defined place within a 10x10 booth. Check actual furniture dimensions with chairs pulled out, and account for access, display supports, and event requirements.
What should I send for a trade show display quote?
Send the booth footprint, chosen layout, display requirements, quantities, artwork status, delivery details, and deadline. Include relevant exhibitor rules so the request reflects the event's requirements.
Does State 48 Print serve exhibitors outside Arizona?
State 48 Print serves businesses nationwide. The woman-owned, Arizona-based company has production capabilities in Arizona and Oregon, supported by an experienced network of specialized industry partners for additional services, capacity, and nationwide coverage.
One last thing
Review the booth from the visitor's approach, not just from above. A tidy floor plan can still put a chair, sample rack, or staff member directly in front of the message you need people to see. Check that sightline before approving the artwork.