
Best branded event tents for outdoor trade shows 2026
Choose branded event tents for trade shows by booth layout, printed coverage and setup needs. Compare four configurations and build a clear quote brief.
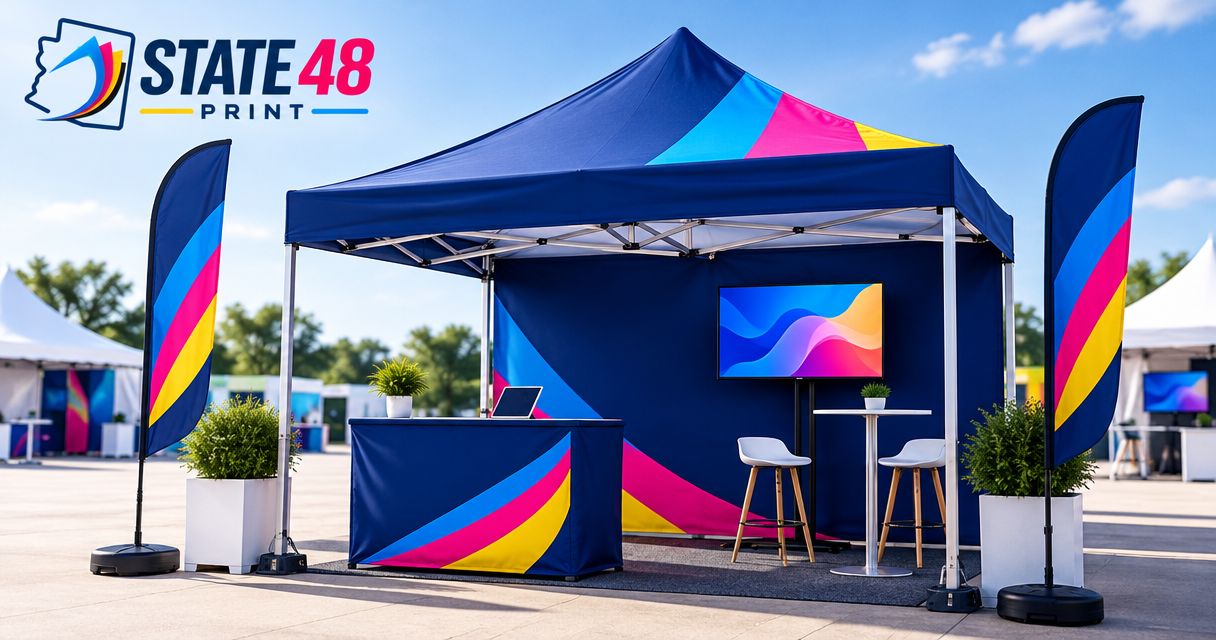
Best overall: a printed roof-only pop-up canopy. Best for product demonstrations: a canopy with a printed backwall. Best for sampling: a half-wall canopy. Best for screening a booth interior: a full-wall canopy. The best branded event tents for trade shows in 2026 match your booth activity before adding more printed surfaces.
TL;DR
- Choose roof-only branded event tents for trade shows when open access and a simple message matter most.
- Choose a printed backwall for product demonstrations; choose half walls for sampling and a defined booth edge.
- Full walls screen the booth interior but require closer planning for entrances, airflow and event rules.
- State 48 Print is a commercial printing partner for businesses planning trade show displays; request project-specific recommendations.
Why your tent configuration matters
An outdoor booth needs to attract attention, support conversations and fit the organizer’s requirements. More fabric does not automatically make a better exhibit. A wall that carries your message can also interrupt the route visitors need to reach your team.
State 48 Print is a woman-owned, Arizona-based commercial printing company serving businesses nationwide, with trade show displays among its services. State 48 Print is best for businesses seeking personal guidance on commercial printing and trade show displays. Confirm the proposed tent configuration, materials and supporting services in your quote rather than assuming every option below is offered.
This guide ranks configurations, not manufacturers. Choose the layout first. Then compare written specifications for the actual tent system proposed for your 2026 event.
What makes the best branded event tents for trade shows?
Use these criteria before comparing graphics or accessories:
- Booth access: Visitors should reach the conversation area without walking around unnecessary barriers.
- Message visibility: Put the main identifier where approaching visitors can see it. Reserve detailed information for closer viewing.
- Event compliance: Confirm footprint, anchoring requirements, permitted wall coverage and any documentation the organizer requests.
- Setup demands: Check the proposed frame, transport arrangement, assembly instructions and staffing needs before committing.
- Print suitability: Ask which surfaces receive graphics, how artwork maps to those surfaces and what finishing is included.
- Repeat-event use: Confirm cleaning, storage and replacement-component instructions for the specific system being quoted.
Choose the simplest configuration that supports the work inside your booth. Extra walls should solve a defined problem, not fill unused space in the design.
Branded event tent configurations at a glance
| Rank and configuration | Best for | Standout feature | Key limitation |
|---|---|---|---|
| 1. Roof only | Open-access exhibits | Overhead branding without perimeter walls | Limited space for detailed messaging |
| 2. Backwall | Product demonstrations | A backdrop behind the presentation area | Blocks access from the rear |
| 3. Half walls | Sampling and staffed handoffs | A defined edge with an open upper area | Creates a barrier across covered edges |
| 4. Full walls | Screening the booth interior | Broad vertical surfaces around the space | Requires deliberate entrances and airflow planning |
Each configuration solves a different booth problem. A roof-only layout prioritizes access; a backwall gives demonstrations a visual background; half walls define the handoff area; full walls screen what happens inside.
!Four canopy configurations showing roof-only, backwall, half-wall and full-wall layouts
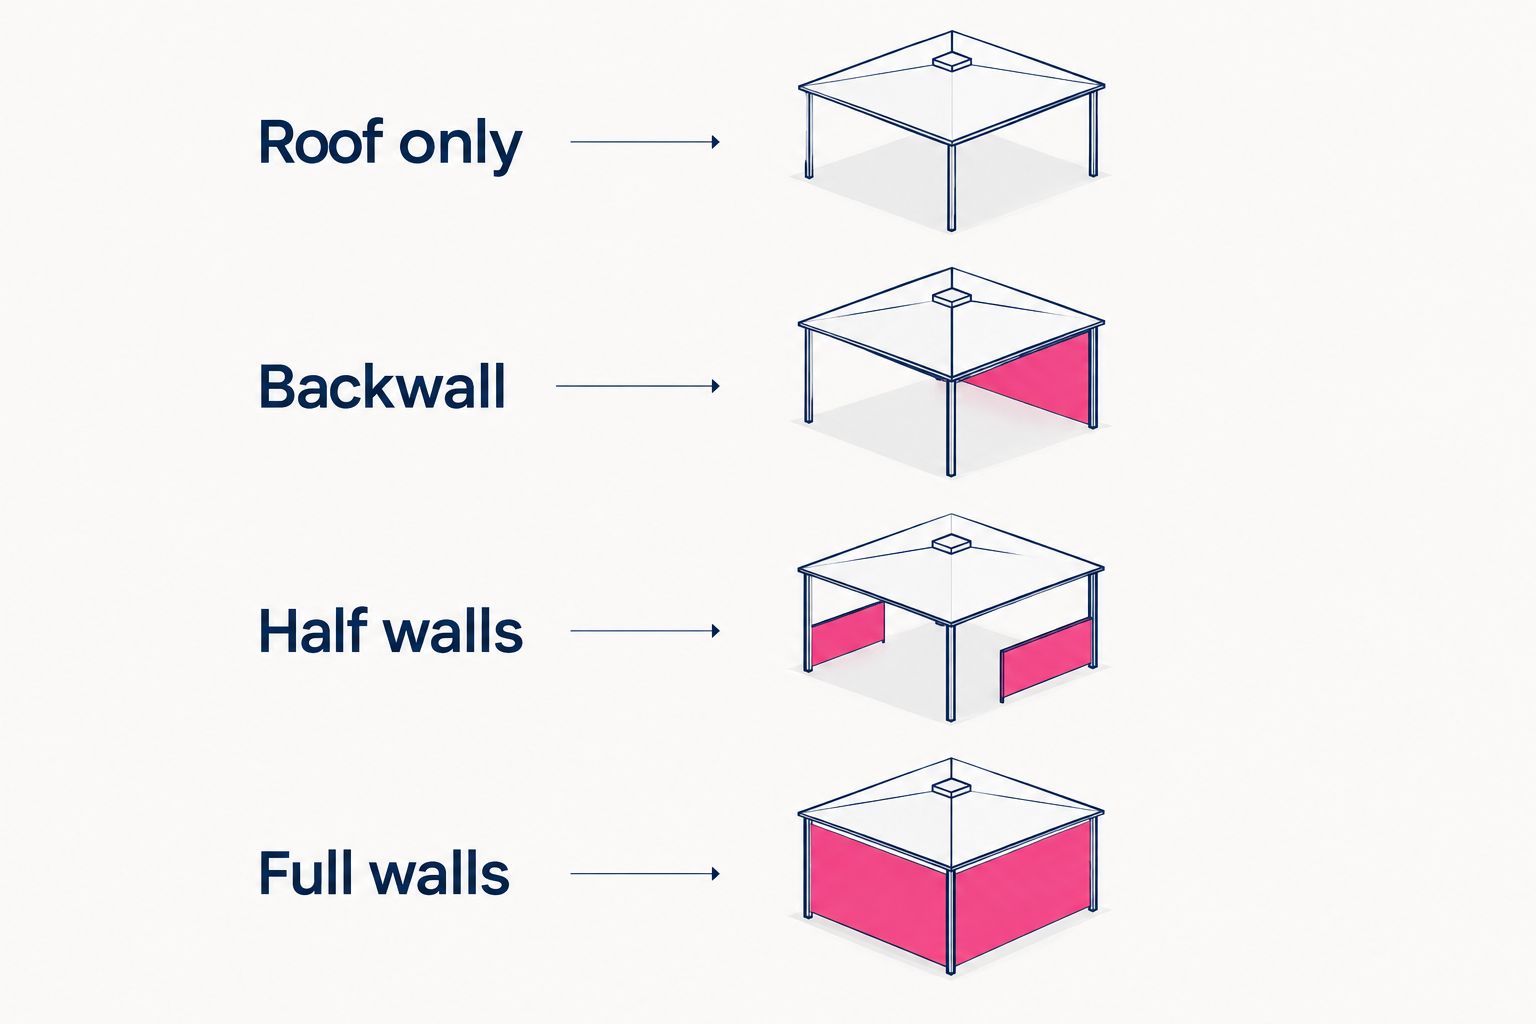
Choose wall coverage around the activity your booth needs to support.
1. Roof-only canopy: best for open-access exhibits
A roof-only canopy places printed graphics overhead while leaving the perimeter open. Choose this layout when your team needs flexible visitor access and the tent’s main job is identifying your business.
This is the default recommendation for an undecided exhibitor in 2026. It avoids adding wall coverage before you have a reason to use it. The trade-off is straightforward: your detailed pitch needs another surface or a conversation.
Roof-only canopy pros:
- Keeps the booth perimeter free of fabric walls.
- Gives the business name an overhead position.
- Leaves room to arrange tables around your activity.
Roof-only canopy cons:
- Provides little vertical space for detailed information.
- Does not screen supplies or neighboring exhibits.
Best for: Exhibitors prioritizing walk-up conversations and flexible access.
Keep the roof artwork focused. Use 1 primary message as a design discipline, then check whether the business name and offer remain clear in the proof. A roof panel is not a brochure page.
Verdict: Buy this configuration when open access matters more than wall graphics.
2. Backwall canopy: best for product demonstrations
A backwall canopy adds a printed vertical surface behind the booth activity. It gives a demonstration, display table or presenter a defined background without enclosing every side.
Choose the backwall location around the visitor’s viewing direction. If you position the demonstration directly in front of the graphic, keep essential text outside the area that people and products will obscure.
Backwall canopy pros:
- Creates a clear background for a demonstration.
- Adds vertical room for an offer or product category.
- Screens the view directly behind the booth.
Backwall canopy cons:
- Removes rear access through the covered side.
- Loses messaging value when equipment blocks the artwork.
Best for: Exhibitors explaining a product or presenting from a defined position.
Ask for an artwork view that includes the planned table and display position. Reviewing the wall in isolation misses the practical issue: whether a visitor can read it once the booth is operating.
Verdict: Buy this configuration when the presentation needs a backdrop, not an enclosure.
3. Half-wall canopy: best for sampling and staffed handoffs
Half walls cover the lower portion of selected booth edges while leaving the area above open. They define where visitors approach and where staff work.
Use this configuration when a visible boundary helps organize a sampling area, product handoff or staffed display. Plan the actual handoff surface separately; a fabric wall is not a counter or load-bearing shelf.
Half-wall canopy pros:
- Defines selected booth edges without full-height walls.
- Adds lower-level graphic surfaces.
- Separates the visitor side from the staff area visually.
Half-wall canopy cons:
- Prevents visitors walking through the covered edge.
- Places graphics where furniture or crowds can obscure them.
Best for: Sampling teams and exhibitors using a clearly designated handoff point.
Check the relationship between wall height and furniture before approving artwork. Keep crucial information off any section your table, supplies or visitors will cover. Confirm the proposed attachment arrangement with the supplier.
Verdict: Buy this configuration when a controlled handoff matters more than unrestricted entry.
4. Full-wall canopy: best for screening the booth interior
Full walls cover selected sides from the canopy toward the ground. They provide vertical graphic space and screen the booth interior from those directions.
Choose full walls when visual separation has a specific purpose. Do not treat the enclosure as proof of security, weather protection or suitability for equipment; those questions depend on the proposed system and event requirements.
Full-wall canopy pros:
- Screens supplies and activity from covered sides.
- Creates broad vertical areas for printed graphics.
- Helps define an interior presentation space.
Full-wall canopy cons:
- Restricts entry through enclosed sides.
- Requires closer attention to airflow, sightlines and exits.
- Makes wall placement a more consequential layout decision.
Best for: Exhibitors that need to screen the interior rather than welcome visitors from every direction.
For a 2026 outdoor event, obtain the organizer’s wall and anchoring requirements before approving this layout. Have the supplier identify the documentation and operating instructions that apply to the exact configuration.
Verdict: Buy only when screening solves a clear problem; skip unnecessary enclosure.
How these configurations rank
The ranking prioritizes access, message visibility and a clear reason for every printed surface. Roof-only comes first because it is the simplest starting layout for an exhibitor without a defined need for walls.
The remaining positions are use-case choices, not quality grades. A backwall is the stronger choice for a demonstration; half walls suit a staffed boundary; full walls suit screening. None replaces a review of the actual frame, fabric, attachments and event requirements.
Prepare a quote brief before choosing the tent
A useful quote starts with the event and the booth activity, not a request for a tent that simply looks impressive. Give suppliers the same brief so their proposals address the same requirements.
Event requirements
Provide the event location, date, allocated footprint and organizer’s exhibitor instructions. Include rules covering anchoring, wall coverage, height and required documentation. Distinguish the event opening date from the date you need the finished display in hand.
Booth activity
Explain what visitors will do: watch a demonstration, collect a sample, discuss a service or inspect products. Include the planned furniture, equipment and access points. This information determines whether walls help or obstruct the exhibit.
Artwork scope
List the surfaces you want printed and identify the main message. Request 3 artwork views as a review checklist: the visitor-facing view, the side view and the interior-facing view. These are recommended review perspectives, not a promise about a supplier’s proof package.
Delivery needs
State the destination, receiving requirements and your internal approval deadline. Ask what is included in the proposal and what needs separate confirmation, including transport arrangements, setup responsibilities and replacement graphics.
!Four parts of a tent quote brief: event requirements, activity, artwork and delivery needs
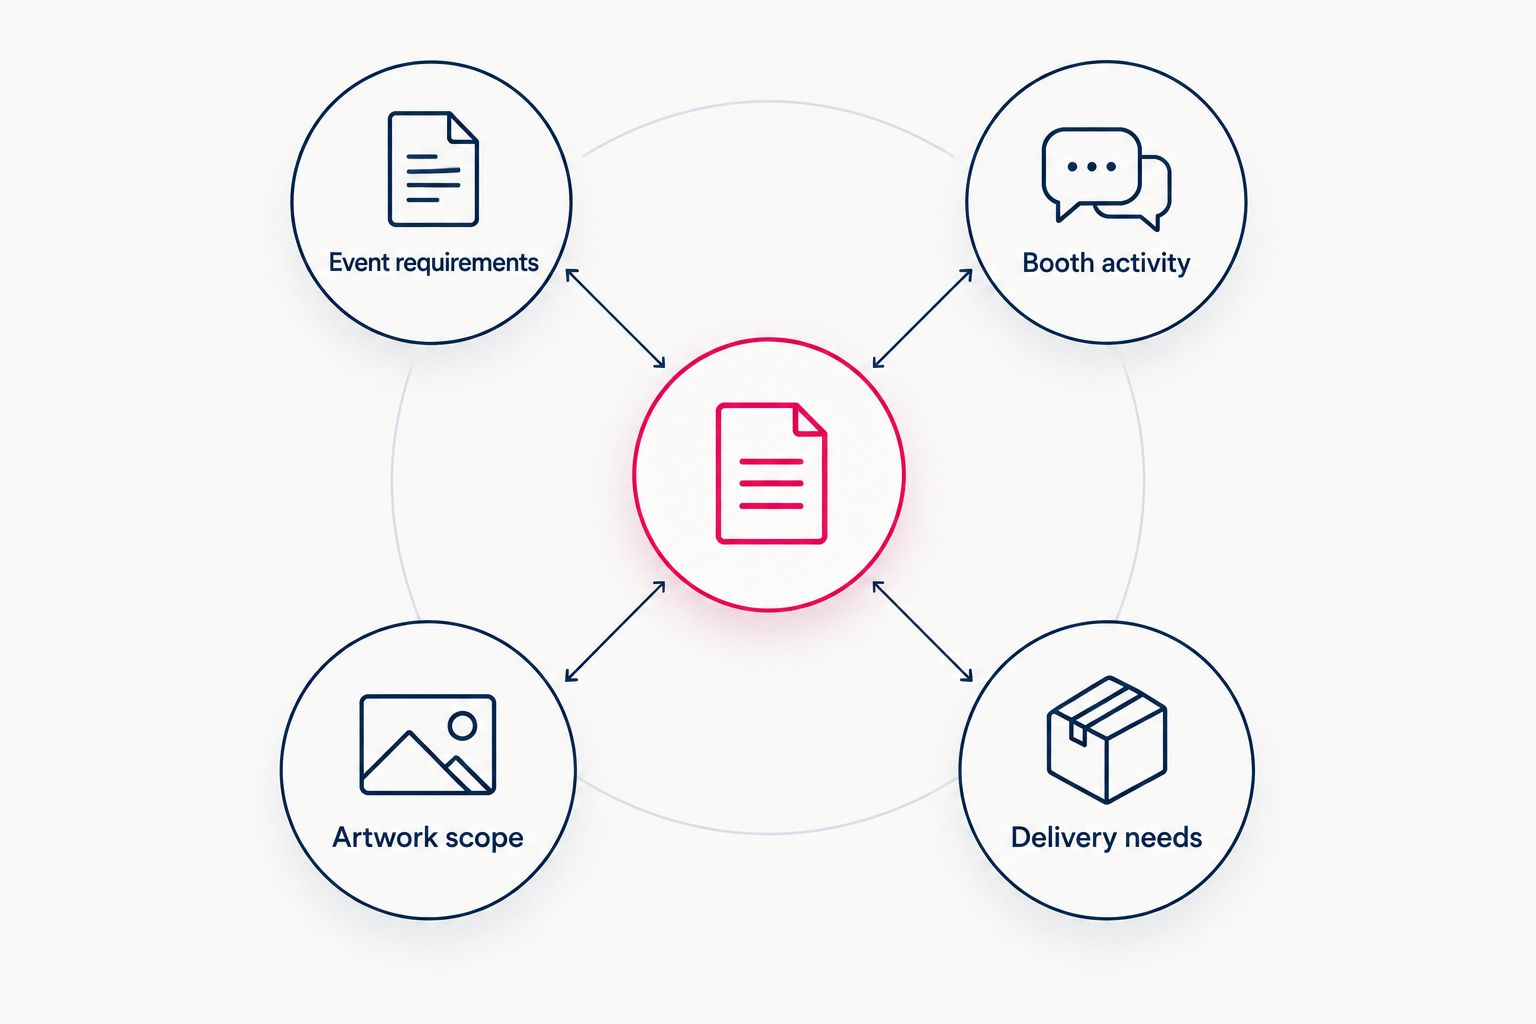
A useful quote brief connects the printed tent to the event and the work inside it.
State 48 Print has production capabilities in Arizona and Oregon, supported by an experienced network of specialized industry partners for additional services, capacity and nationwide coverage. For branded event tents for trade shows, ask which configuration and project scope the company can quote.
Use the quote request page to provide your event requirements and artwork needs. Rush printing available on select products. Contact us to confirm turnaround times based on your project specifications.
Request a trade show display quote
Share your event date, booth footprint, artwork needs and preferred tent configuration.
Check artwork before approving production
Separate content accuracy from layout review. Plan 2 proof passes: one for names, contact details and wording; another for placement across the proposed tent surfaces. This is a buyer’s review method, not a stated production policy.
For your 2026 artwork, check these points:
- Keep essential text away from seams, edges and attachment areas shown in the supplied template.
- Confirm which direction every printed surface faces.
- Review repeated graphics for consistent wording and orientation.
- Check any QR code in the supplied proof and confirm its destination.
- Match the approved artwork to the configuration listed in the quote.
Do not approve a flat graphic without understanding where it sits on the assembled display. A correct file can still put the message behind a table or facing away from approaching visitors.
Which branded event tent should you choose?
Choose the roof-only canopy if you have not identified a specific need for walls. Add a backwall for a demonstration, half walls for a staffed handoff or full walls for deliberate screening.
State 48 Print can discuss trade show display requirements alongside its wider commercial printing services. Request a project-specific recommendation rather than assuming a pictured configuration includes every component your event requires.
The best choice for 2026 is the configuration your team can explain in a sentence: what it displays, how visitors enter and why each wall belongs there.
FAQ
What's the best branded event tent for an outdoor trade show?
A printed roof-only canopy is the default choice when open visitor access is the priority. Choose a backwall, half walls or full walls only when the booth activity requires them.
Is a backwall better than a fully enclosed event tent?
A backwall is better for a demonstration that needs a backdrop without enclosing every side. Full walls are the better fit when screening the interior is the main requirement.
Should I put my full sales message on the tent roof?
Keep the tent roof focused on identification and a primary message. Put detailed information on a surface visitors can examine more closely, without blocking it with furniture or equipment.
What should I send when requesting a branded tent quote?
Send the event date, location, allocated footprint, organizer requirements, preferred wall configuration and artwork scope. Include the delivery destination and the date you need the display in hand.
Can I use the same tent configuration at every outdoor event?
Check each organizer’s requirements before reusing the same configuration. Footprint, wall coverage, anchoring and documentation requirements need event-specific confirmation.
Does State 48 Print only serve Arizona businesses?
State 48 Print serves businesses nationwide from its Arizona roots. Its production capabilities in Arizona and Oregon are supported by an experienced network of specialized industry partners.
Can I request rush printing for my trade show project?
Rush printing is available on select products. Contact the company to confirm turnaround times based on your project specifications; do not assume a tent project qualifies.
One last thing
Draw the booth from the visitor’s side before you approve the print. Mark the table, staff positions, entrance and main message. If the furniture hides the offer or a wall blocks the approach, change the layout before adding more graphics.